

 Supplies:
Paper: Real Red CS 3X 8 1/2", Whisper White 3" X 2", scrap of Whisper White, Whisper White 8 1/2" X 1 1/2", Basic Black CS 8 1/2" X 3/4"
Punches I used: (all by Stampin' Up) Decorative Label, Scallop Border, Medium Oval
Ink: Real Red (Marker), Daffodile Delight
Other: Score Pal, 4 X 6 Cellophane Bag, Red Stick Strip, Chunky Glitter, Glue Pen, Stampin' Dimensionals, Black Satin Ribbon
 1. Score your 8 1/2" long pieces of Real Red, Basic Black and Whisper White at 2, 4, 6, 8".
 2. Fold them over to get a nice crisp fold.
 3. Using the border punch, add a decorative border to the Whisper White piece. Layer the pieces as shown above and again fold to reinforce the sharp edges.
4. On the end that does not have the 1/2" edge, draw a dot in the middle. I eye ball it, but if you want you can use a ruler! Using the Decorative Label Punch, punch out a shape right int he middle.
 Now, your paper will look like this:
 Before we move to the next step, I want to point out just how cute this shape is that is left lying on your desk! Make sure you use that somewhere! It would be a great gift tag!!


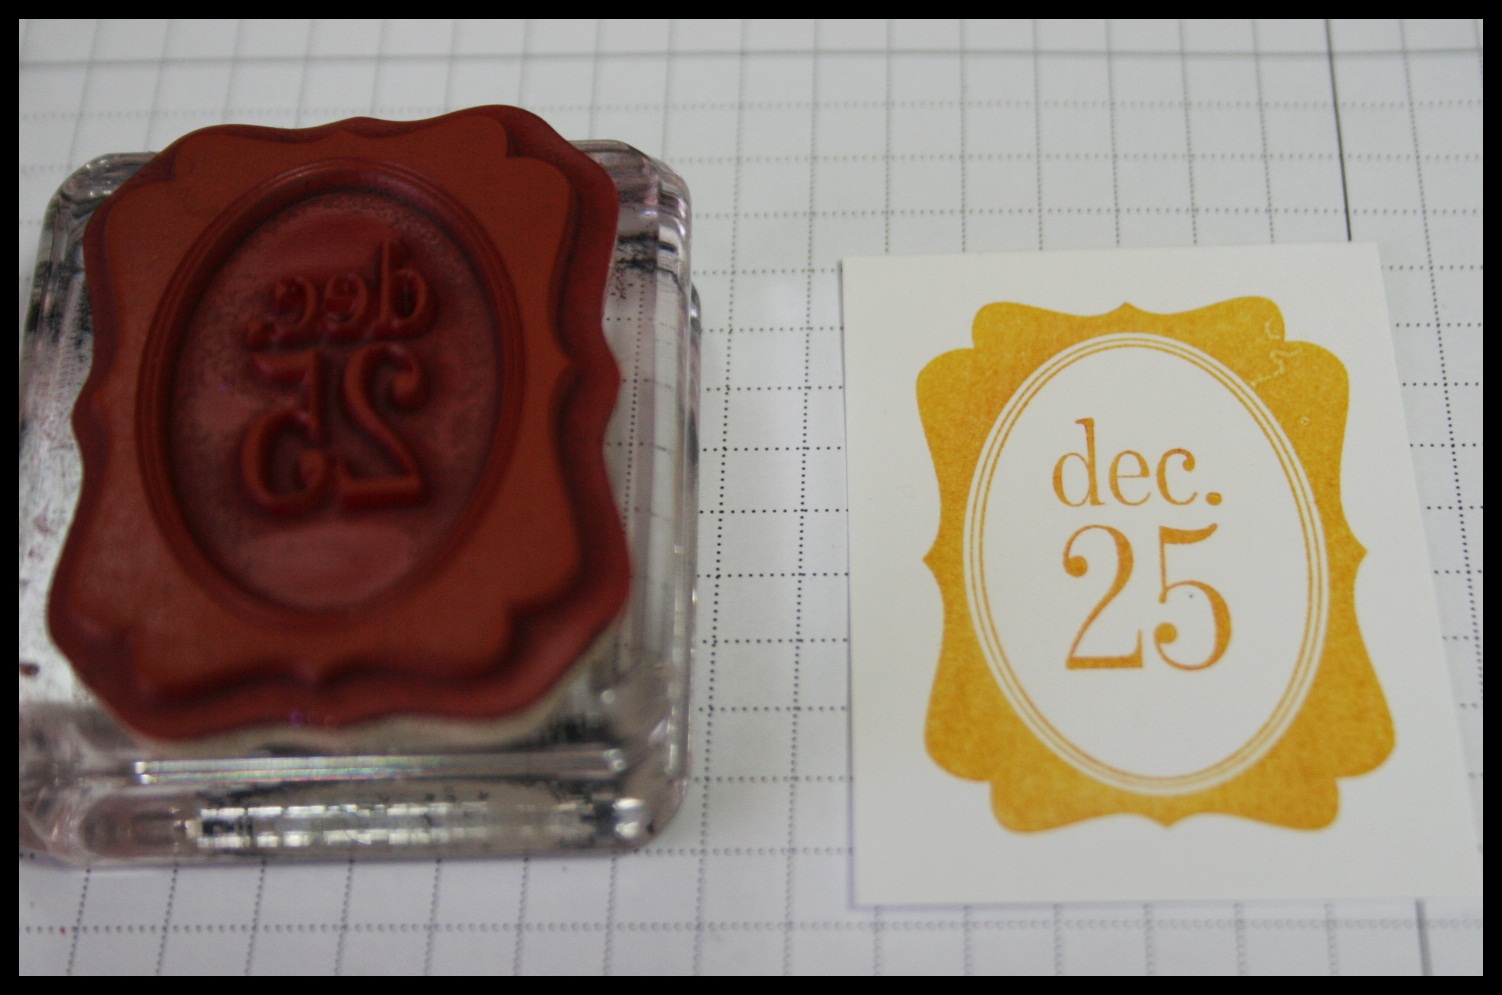
5. Next, I am using this stamp from Stampin' Up's Tags Till Christmas, I stamped it in Daffodil Delight on the small Whisper White Rectangle. Clean your stamp, then using your Real Red Marker, color the inside image (Dec. 25) and stamp it on your scrap white piece.
 6. Punch it out using the oval punch.
 7. Layer the oval on the tag using dimensionals (pop dots) Add a line of glue around the edge and sprinkle the chunky glitter on it. Place 4 dimensionals in the corners as shown.
 8. Line up the outside paper over the stamped image. Stick on with the dimensionals.
 9. Place Sticky Strip on the edge and stick together.
 10. Fill your bag with a treat (see my recipe below) and tie with cute ribbon. Voila! Your done!
 These really are easy to make in bulk!
 The recipe I used is from a fellow Stampin' Up demonstrator for Microwave Carmel Corn. It truly is addicting! And super easy and super cheap! I made some cute recipe cards for a few friends. It goes a long way and is a great treat to make for these little gift bags.

Now, this idea can be used in so many ways. I made a few others just to give you some ideas.
 Cowboy Birthday Party Favors
 Girly Friend Gift
 Valentine Treat
 Now, your paper will look like this:
 Before we move to the next step, I want to point out just how cute this shape is that is left lying on your desk! Make sure you use that somewhere! It would be a great gift tag!!
5. Next, I am using this stamp from Stampin' Up's Tags Till Christmas, I stamped it in Daffodil Delight on the small Whisper White Rectangle. Clean your stamp, then using your Real Red Marker, color the inside image (Dec. 25) and stamp it on your scrap white piece.
 6. Punch it out using the oval punch.
 7. Layer the oval on the tag using dimensionals (pop dots) Add a line of glue around the edge and sprinkle the chunky glitter on it. Place 4 dimensionals in the corners as shown.
 8. Line up the outside paper over the stamped image. Stick on with the dimensionals.
 9. Place Sticky Strip on the edge and stick together.
 10. Fill your bag with a treat (see my recipe below) and tie with cute ribbon. Voila! Your done!
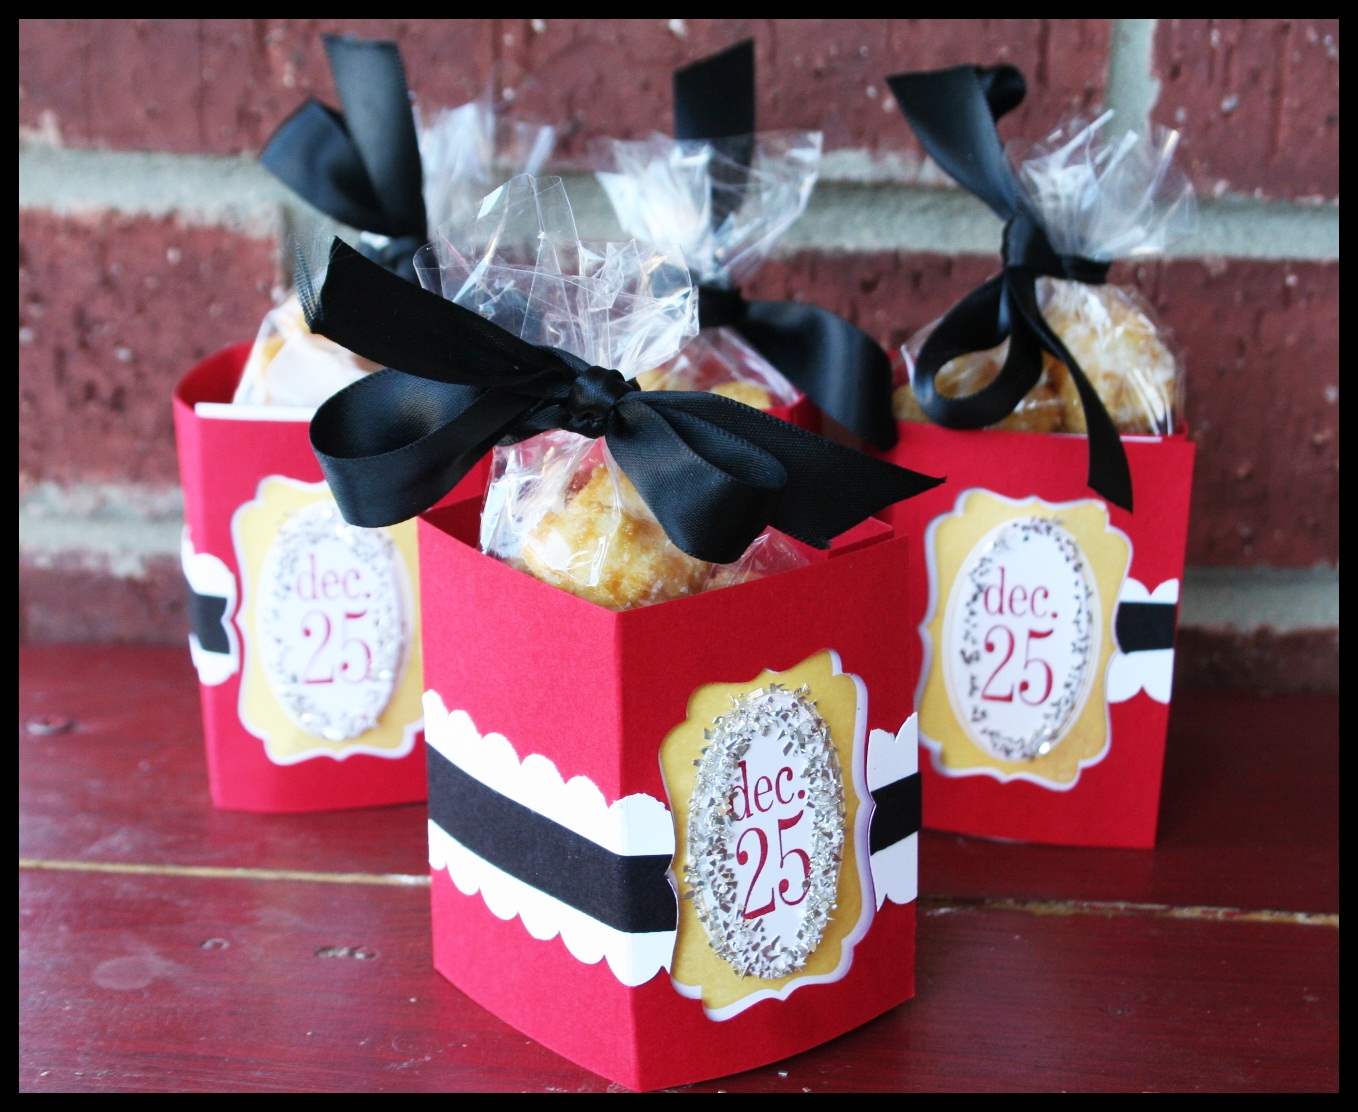 These really are easy to make in bulk!
 The recipe I used is from a fellow Stampin' Up demonstrator for Microwave Carmel Corn. It truly is addicting! And super easy and super cheap! I made some cute recipe cards for a few friends. It goes a long way and is a great treat to make for these little gift bags.
Now, this idea can be used in so many ways. I made a few others just to give you some ideas.
 Cowboy Birthday Party Favors
 Girly Friend Gift
 Valentine Treat
Now, I want to see what you come up with! Please come back and share your creation in the comments! Thanks!
2 comments:
Just a quick note to let you know that a link to this post will be placed on CraftCrave today [06 Dec 01:00am GMT]. Thanks, Maria
Oh My Erica...these are fabulous!! Thanks so much for sharing with us!!
Hugs - LORi
Post a Comment