
I'm Excited and Honored to be joining the talented ladies here at TPE.
~ ~ ~ ~ ~ ~ ~ ~
Today's project is something I have been working on as a Fundraiser for my daughter school.

The MUSTACHE craze is alive and well among the 10-13 year old crowd - but I needed something that was affordable for the kids - and easy for me to make en mass.

When I saw these sweet little Burlap Zipper Pouches at Target (in the dollar bins) - a Light Bulb went off.
"I can STAMP a jumbo mustache on the front of the bags"
One Problem - I don't have a Jumbo Mustache Stamp.
The solution was to make one using Craft Foam and Scrap Wood.
Basic craft foam sheets seemed too thin so I used spray glue to adhere three layers together. This thickness was perfect. The layers bonded together easily and have not separated at all (the stamp has been washed several times).

(you can just barely see the three layers in this photo)
I have since discovered that you can purchase double thickness craft foam. I'll try that for my next Jumbo Stamp project.
I drew the mustache shape free-hand onto a piece of paper - cut it out - and then traced it onto the craft foam. Regular sharp scissors work fine to cut through the foam layers.
I used Tacky Glue to adhere the cut out shape onto a piece of scrap molding.

I tried to center the mustache stamp on the wood base to make positioning on my project easier. It also helped that the piece of scrap wood base was almost the exact size of the burlap pouch.
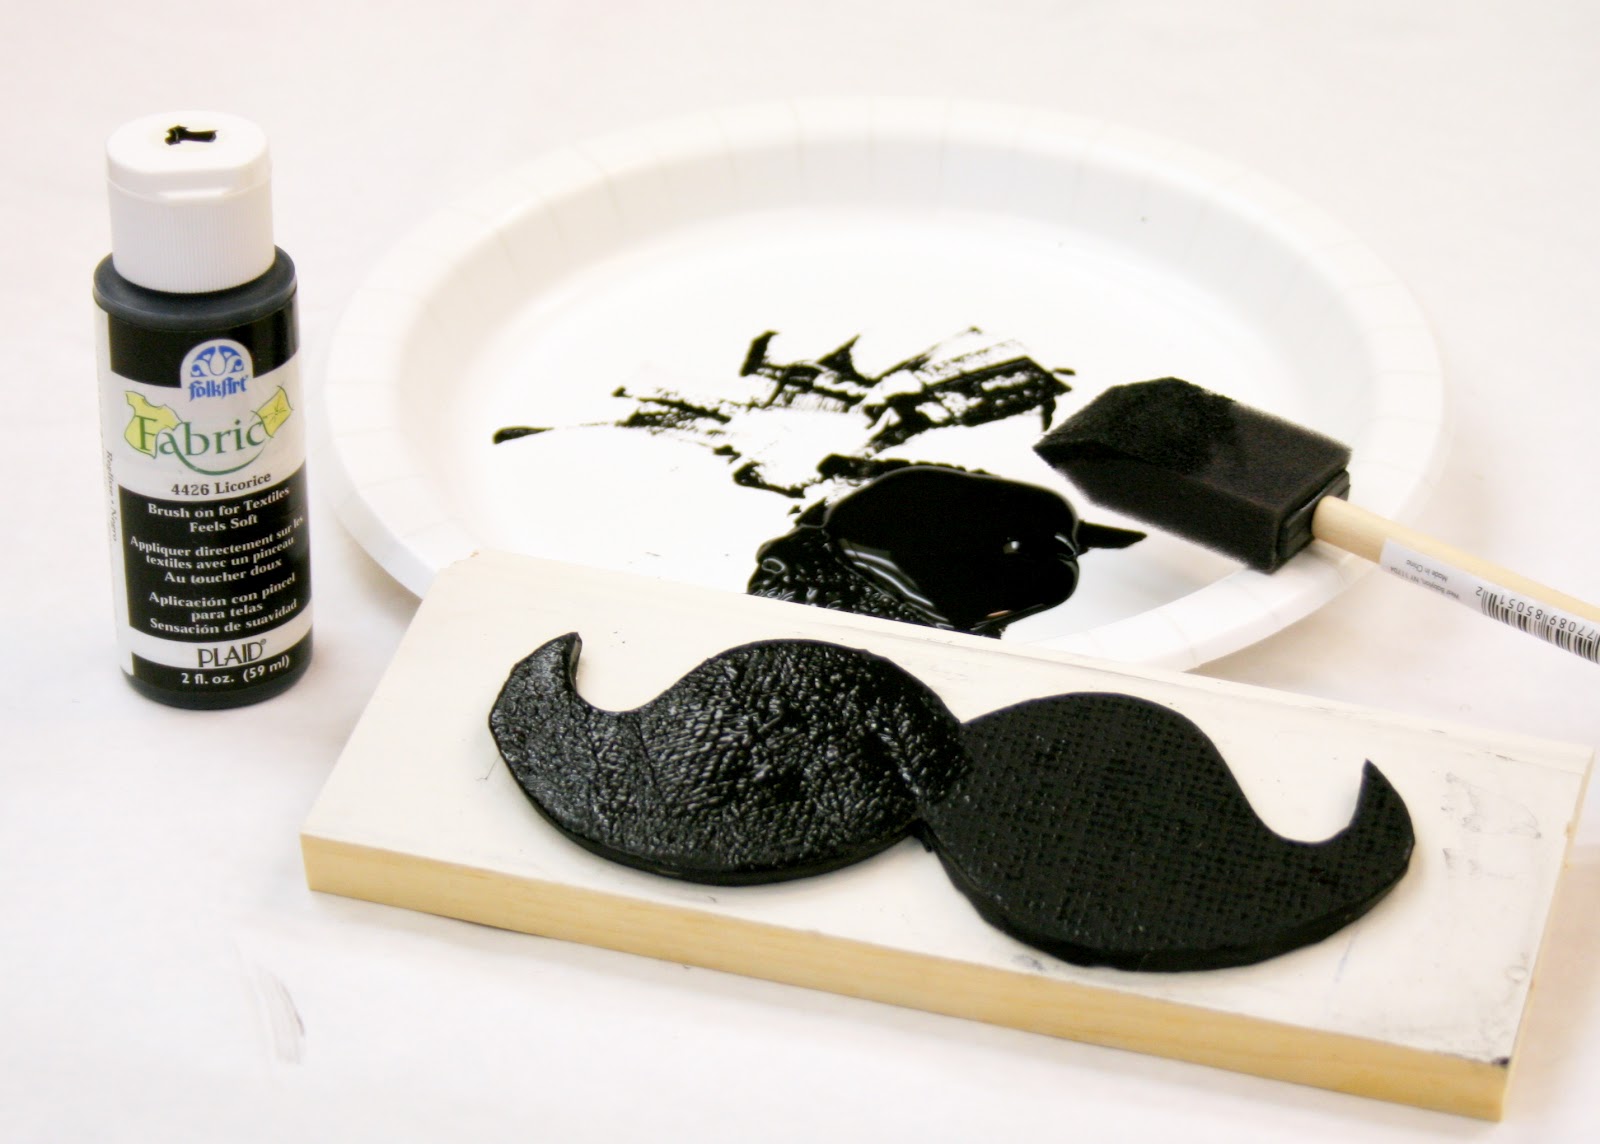
Fabric paint was dabbed onto the stamp and then pressed onto the burlap bag. The burlap was already backed with a plastic mesh for stability, so there was no fear of the paint seeping through.

After they dried (24 hours as directed) I heat set the stamped image using a hot iron. I don't think it was necessary, since I doubt these little bags will ever be washed - but I would hate to have the paint transfer unexpectedly.

I personally love the neutral black & burlap colors, but since this project was designed for young girls - I thought they needed a little POP of color.

Each bag
was embellished with a colorful zipper pull.

I used two different
assorted color stone beads and black & white Bakers Twine.

Here they are - several dozen Mustache Zipper Pouches.

Perfect as a cosmetic bag, change purse or pencil pouch. The girls (and even some of the boys) loved them. We were sold out within the first few hours.

I love the bold graphic design of this stamp - especially how it shows the texture when printed on the burlap. I'm already thinking of other shapes that would work well:
~ Heart ~
~ Arrow ~
~ Chevron ~
I just happened to have a few burlap bags left over to experiment with.
Thanks for reading along. I'll be back in a few weeks with another project to share.

8 comments:
I stinking love it!!! What an awesome idea and tutorial!!!
Be blessed, Beckie
What an awesome idea! So cute way to raise money.
WOW!! What a fun & fabulous project, Karina!! I love these lil' bags and how you created your own stamp for the project!!
These are adorable! You are so creative and fun. Great job on the step-by-step tutorial and so inspiring!
Wowza Karina...you totally blew me away with your first project share...seriously awesome-ness! You are a crafty genius!! Thank you so much! ♥♥ LORi
Karina this is AMAZING! I absolutely love this idea. Wonderful job with the bags - I saw them at Target and loved them too!
Ciara said they were adorable!!!
These are SO COOL! What a fun project, Karina! Thanks for sharing the idea with us!
Post a Comment