At first I had an idea to make a Heart shaped String Art wall hanging - but I wanted something that our entire family could create together.
Since this weeks Challenge is a LOVE theme, and we have 4 members in our family, it was a perfect alternative to change the design so everyone could be involved (4 Family Members = 4 Letters).
I started with a piece of scrap wood from my stash.
(remember the Home Improvement Stores will cut the wood to size if you don't have a saw)
It could have been a little bit longer, but I managed to squeeze the letters to fit OK. I sanded the board lightly to smooth away any splinters and rough edges and wiped away the dust with a cloth.
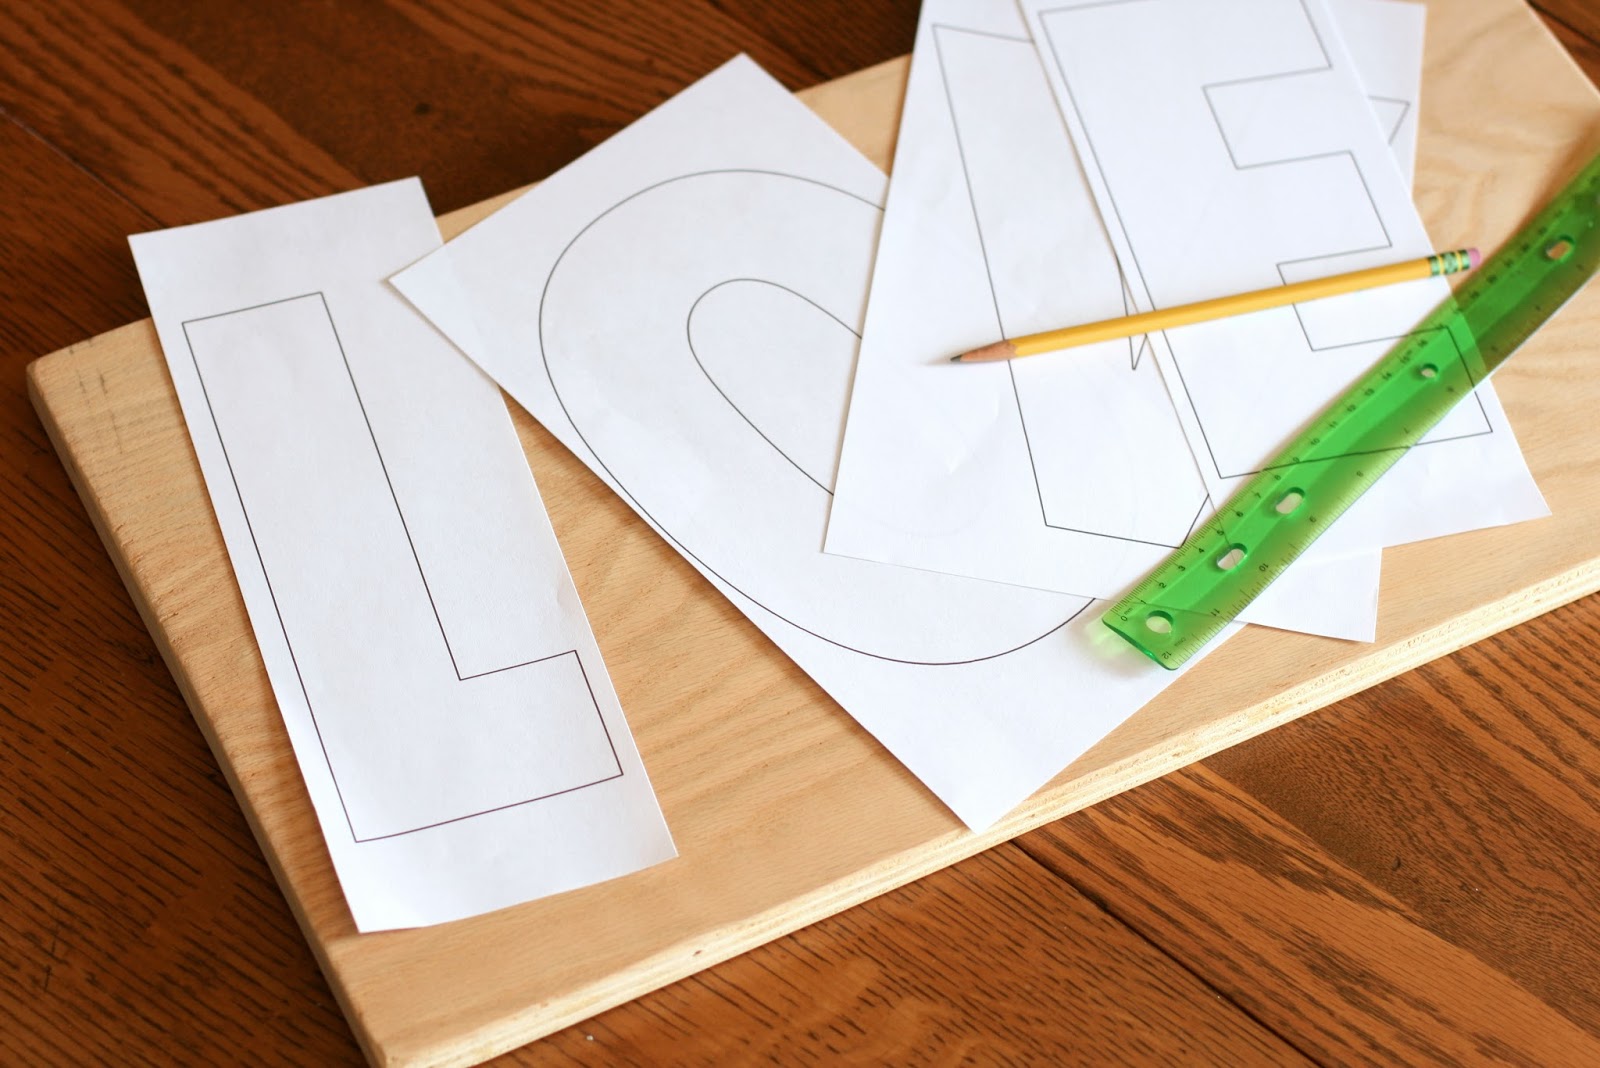
I printed the outline of the letters using a Word document. Each of the letters are sized so they fill one entire 8 1/2" X 11" sheet of paper.
The letters are spaced evenly across the board and then taped into place along the top edge only.
Next, a large piece of graphite paper was used to transfer the letter outline onto the board. It's not important if the lines are not traced perfectly straight.
The letter outlines are used as a guide to where the nails will be hammered in. I marked freehand dots spaced along the lines (approximately 1" apart) for where I wanted each of the nails. Don't worry too much about getting everything lined up, it will be
nearly impossible. That's what gives this Art Piece it's homespun feel.
I used 18 gauge X 3/4" long nails. Make sure the nails have a head (not finishing nails or brads) so the string/embroidery floss doesn't slip off the top of the nail. Hammer the nails along the outline of each letter, leaving half of the nail sticking up.
I managed not to hit my finger, but it wasn't easy keeping the nail straight. This is another part that will be impossible to get perfect. The nails won't be straight and they won't all be hammered in the same distance. It will look just fine in the end.
Once all the nails were in place - I took the board outside and sprayed the front and sides with black spray paint, and allowed it to dry for a few hours.
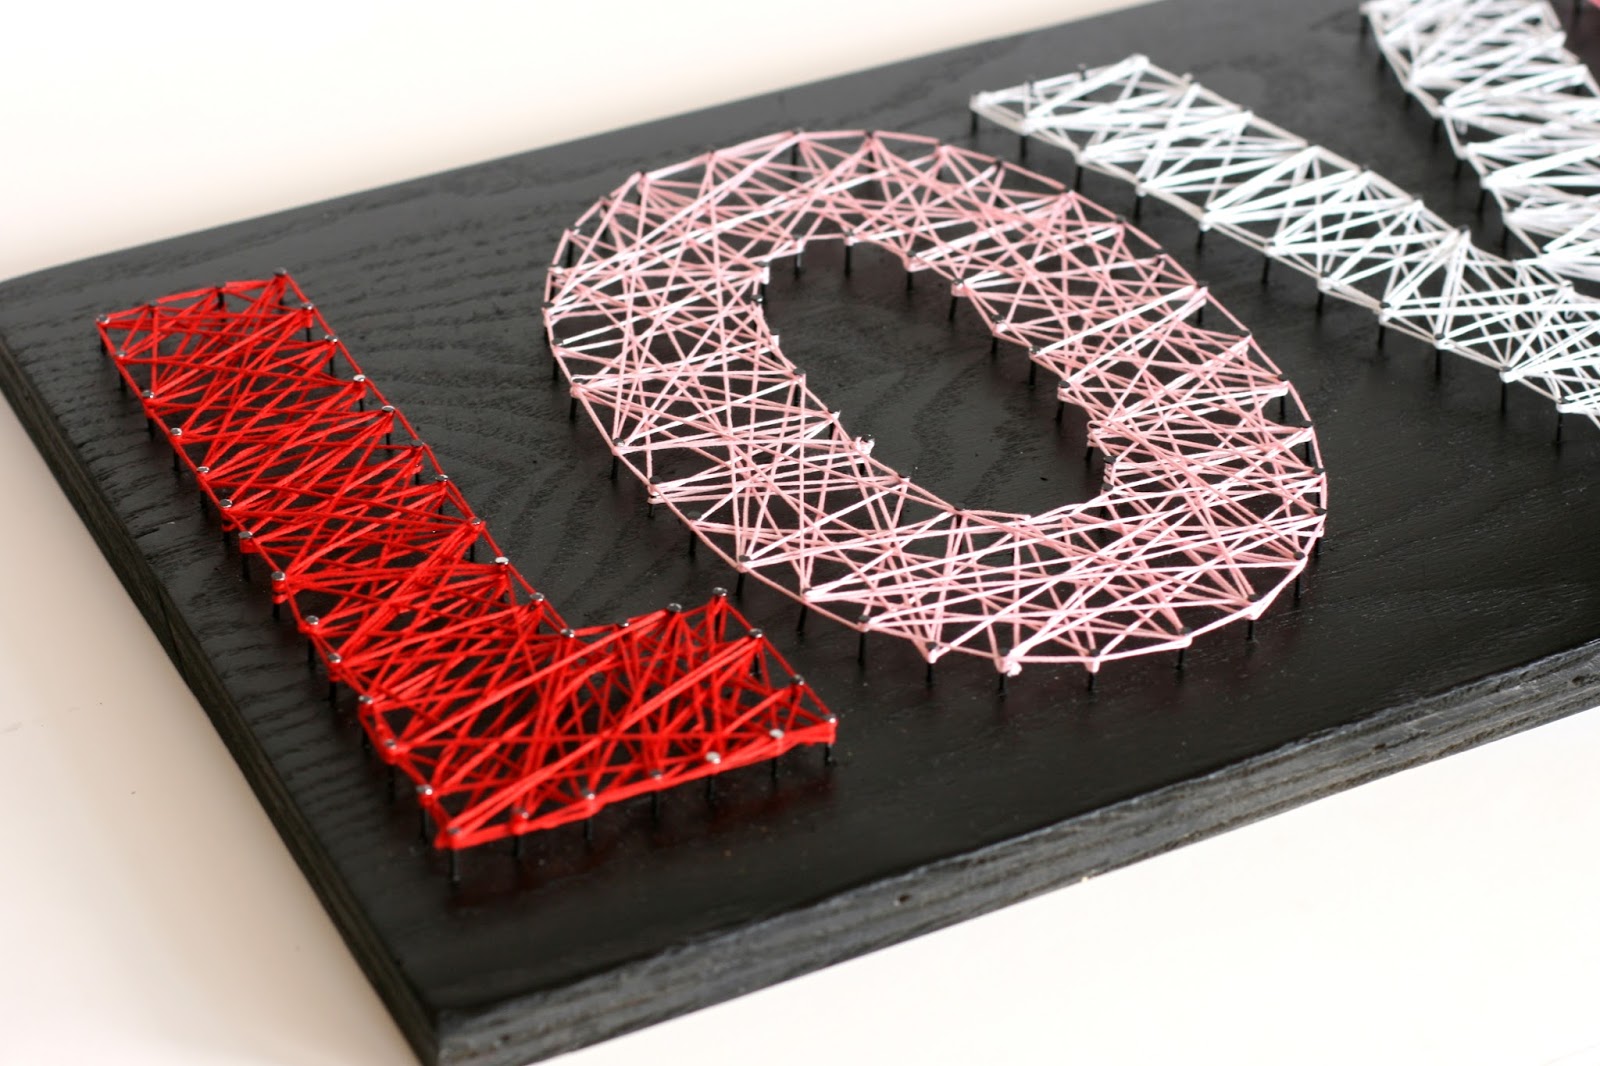
Now it was time for the FUN part. With the family gathered around, we each picked a color of embroidery floss (I used Red, White, Light Pink and Dark Pink).
Each letter required 2 skeins of embroidery floss. Start by tying one end of the floss securely around one of the nails, and begin to wrap from nail to nail across the letters.
There was NO specific pattern that we used to wrap the nails, but it could be done in a very orderly sequence to create a completely different look. I like the fun of going random - plus it's easier for all ages involved.
After the letters were filled with string - we used the last section of floss to wrap around the outside of the letters to highlight the letter shape.
At the end of each skein of floss - tie securely to a nail and trim the excess close to the knot.
Even though the nails are not straight or even, and we made some
mistakes with our string/floss wrapping - it doesn't really show in the
end.
This project will be a new addition to our Valentines Decor this year, but I have a feeling I will be making a few more for other places in our house.
If you decide to make a version of this project, I would love to see your results. Have fun and Thanks for reading along...


12 comments:
great project! such a good idea!!! and a family activity as well! love it!
Mirella DK
I used to do string art by the ton when I was a kid. Thanks for the walk down memory lane! Love this - no pun intended.
Thanks. It was great family fun.
Karina, that is such a cool craft! It looks so professional and yet it was a project of family unity!x
I remember doing these kinds of projects as a kid too. Very Retro inspired. My daughter is already planning what she wants to make for her room. Thanks.
Awesome Valentine decor project, Karina! Love it!
Super fantastic, Karina!! WOW!!
Wow, this is amazing! I love it:)
Sherrie K
http://sherriescraps.blogspot.com
I love, love, love your projects! This is gorgeous! Woot! Woot!
This is stupendous!!!!!!!!!!!!!! So impressed Karina!!!!!
Thanks friends - so glad you like this project. It was a very fun family craft activity.
Post a Comment